tojimari
↝ Description
After watching my now favorite movie of all time, I was left awestruck (and bawling my eyes out) in a way that I had to show my appreciation for it in one way or another. What followed was a project that took me on a two-year journey of learning and growth, both personally and professionally. Using all of the programs I had learned over the years as well as writing not one, but two Python plugins to help me with the project (and are now also helping hundreds of other artists), I created a short animation that I am incredibly proud of. The project was a labor of love, and I hope it does the original work justice.
↝ Tools used
Suzume
Don't be scared, the future is not that scary. You'll meet many people who you'll cherish and many people who'll cherish you back. It might be tough moving forward but at the end of a seemingly endless dark night but there will be morning. You will grow up basking in that light. I'm sure of it.
Makoto Shinkai’s Suzume is a whirlwind adventure featuring a three-legged chair, a mischievous cat deity, and an overarching theme of grief, healing, and closure. The film blends jaw-dropping visuals with themes of trauma and resilience, all while weaving in Japanese folklore. It’s heartfelt without being heavy-handed and quirky without losing its depth, and has both earned the spot as my favorite movie and served inspiration for this project.

This whole time
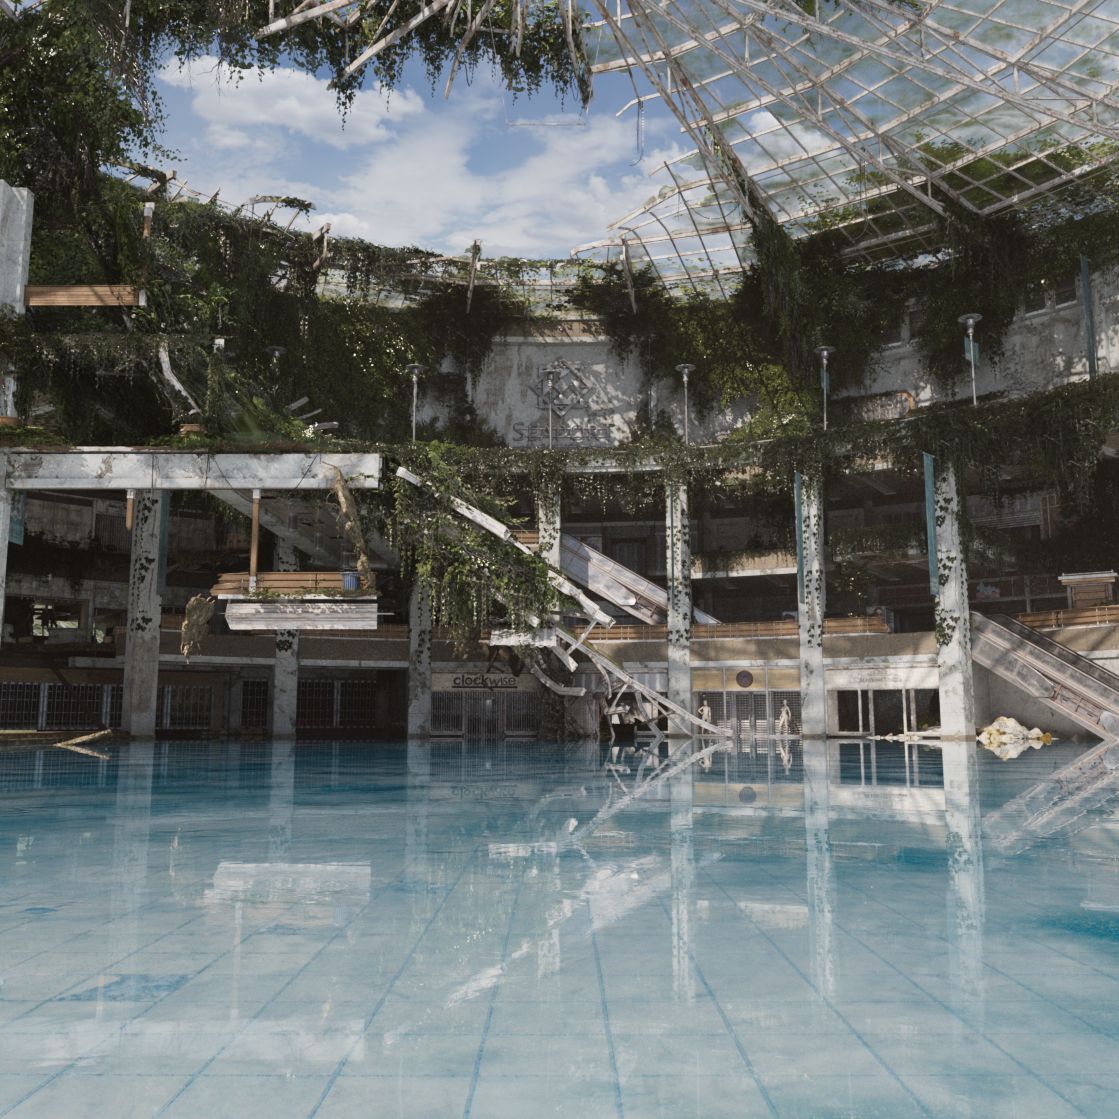
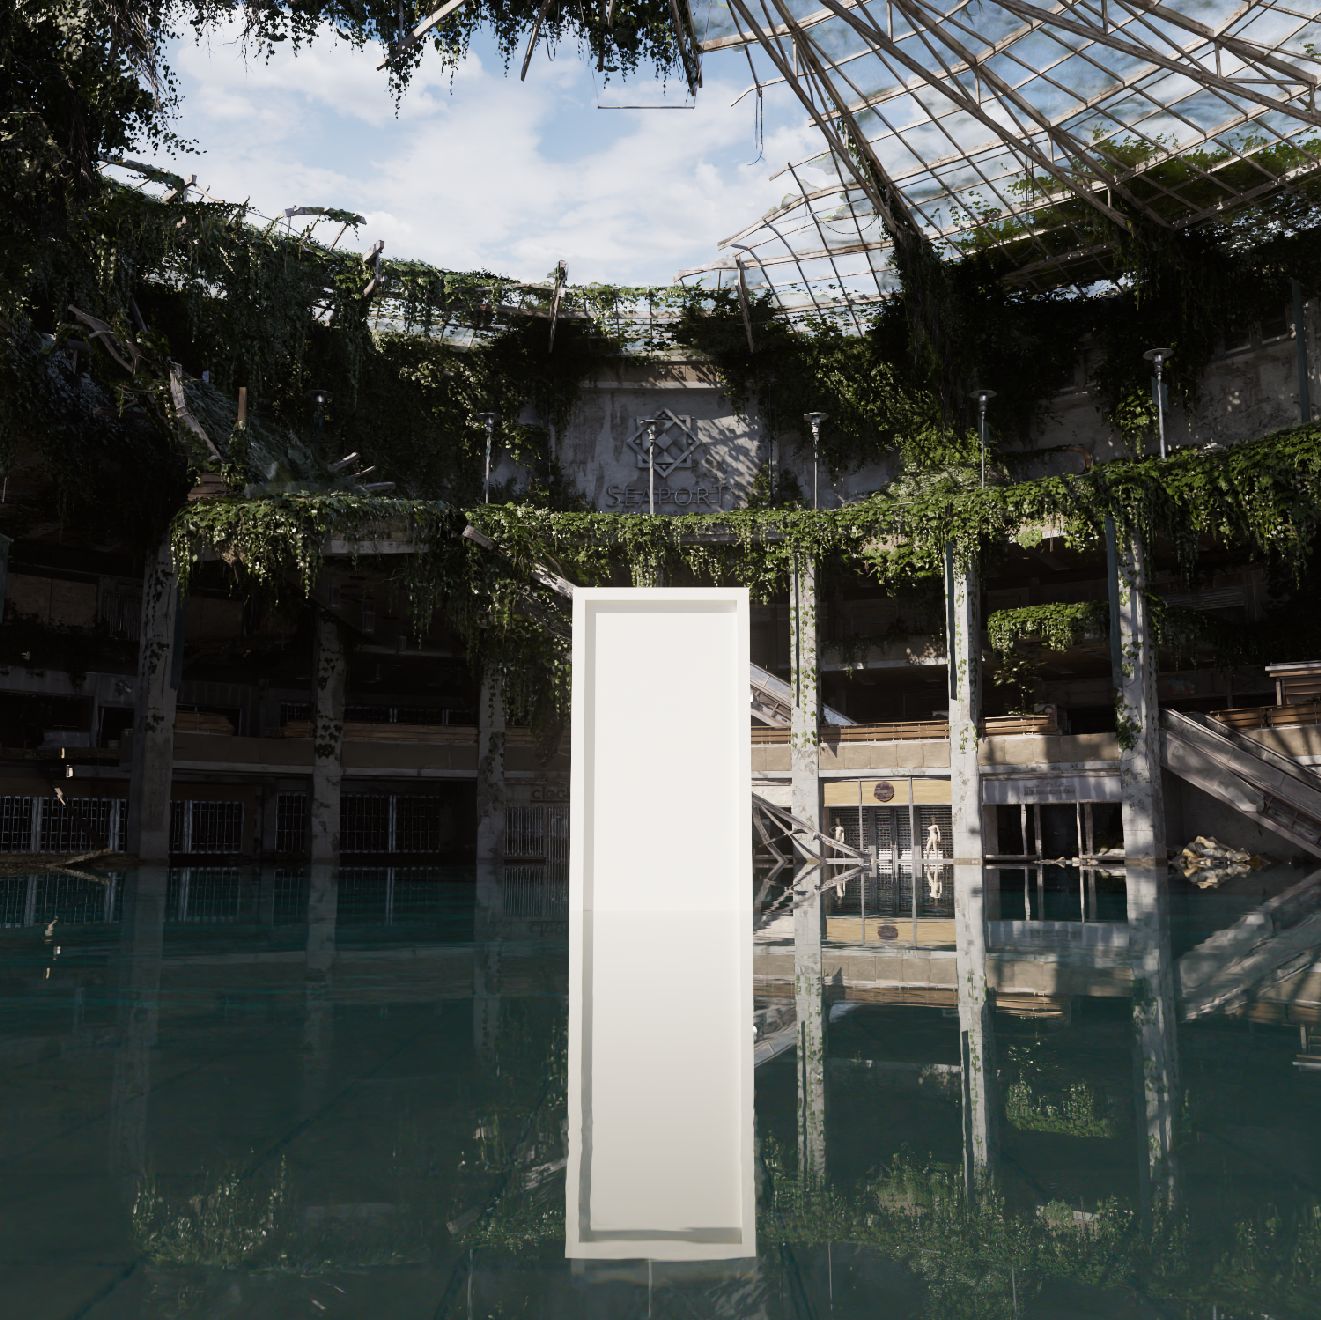
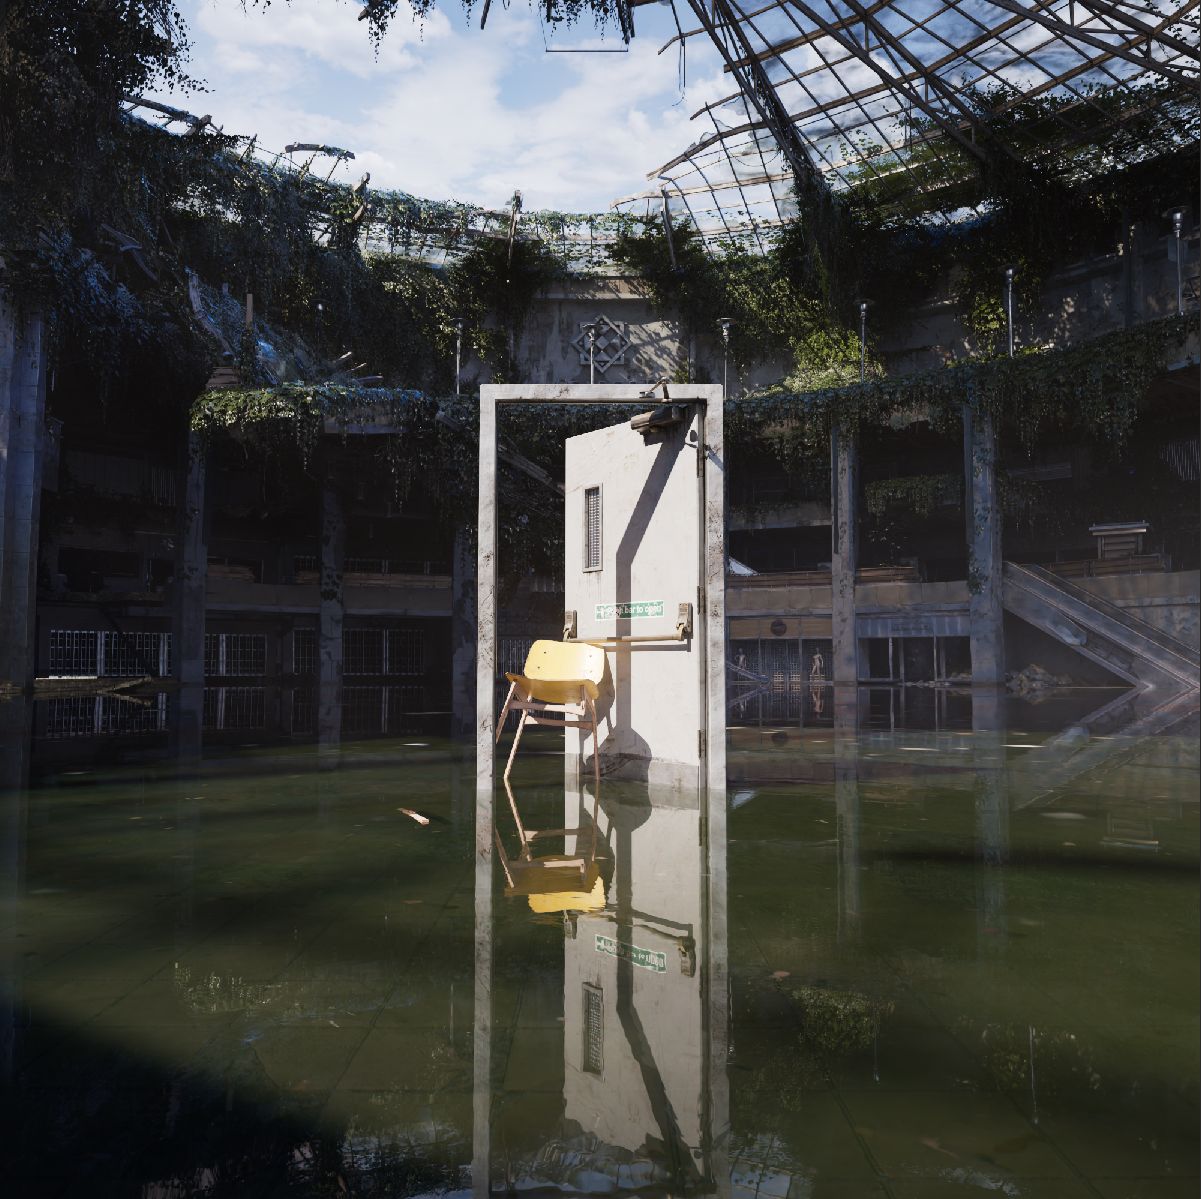
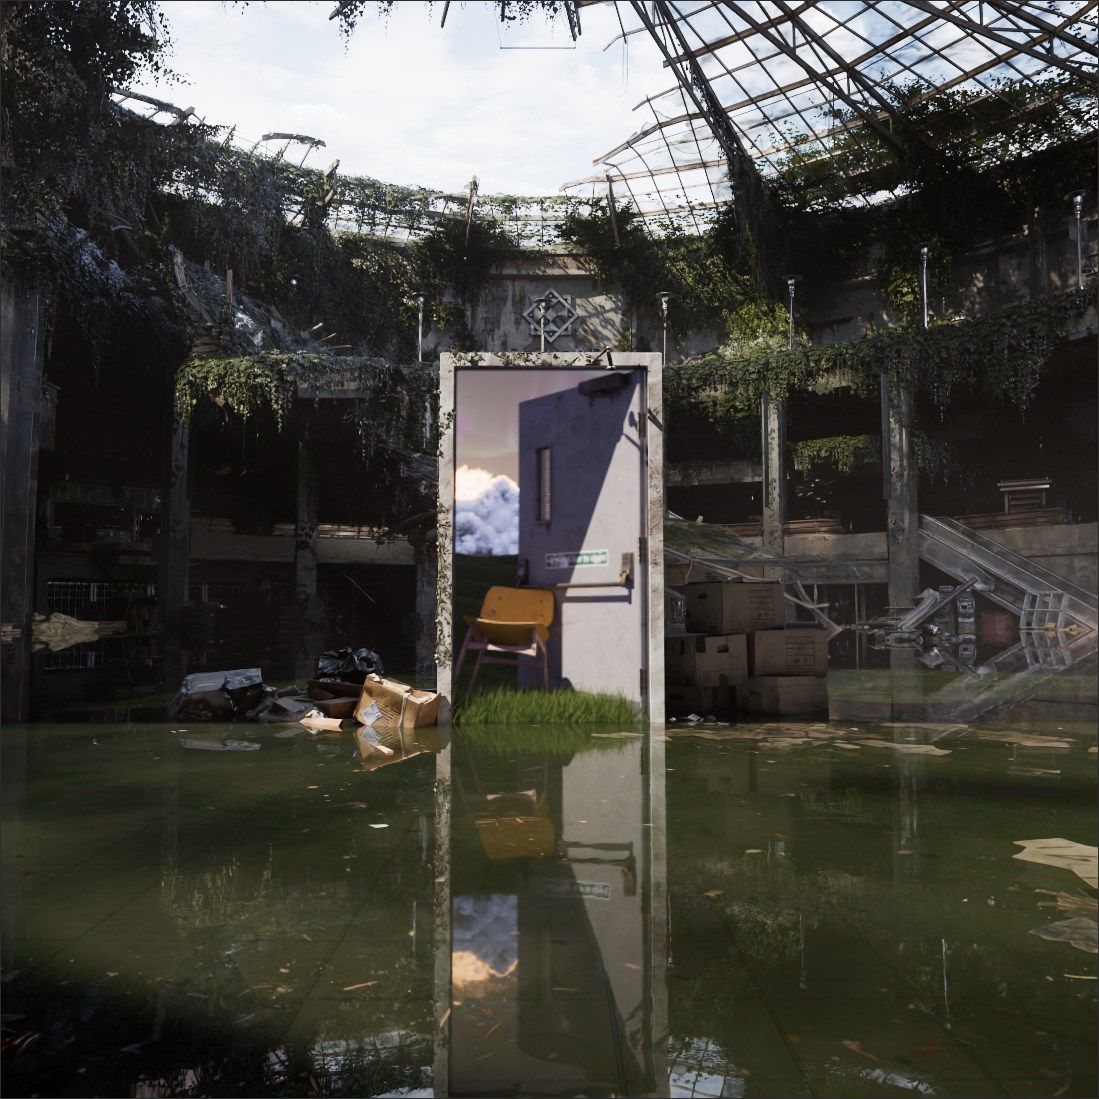
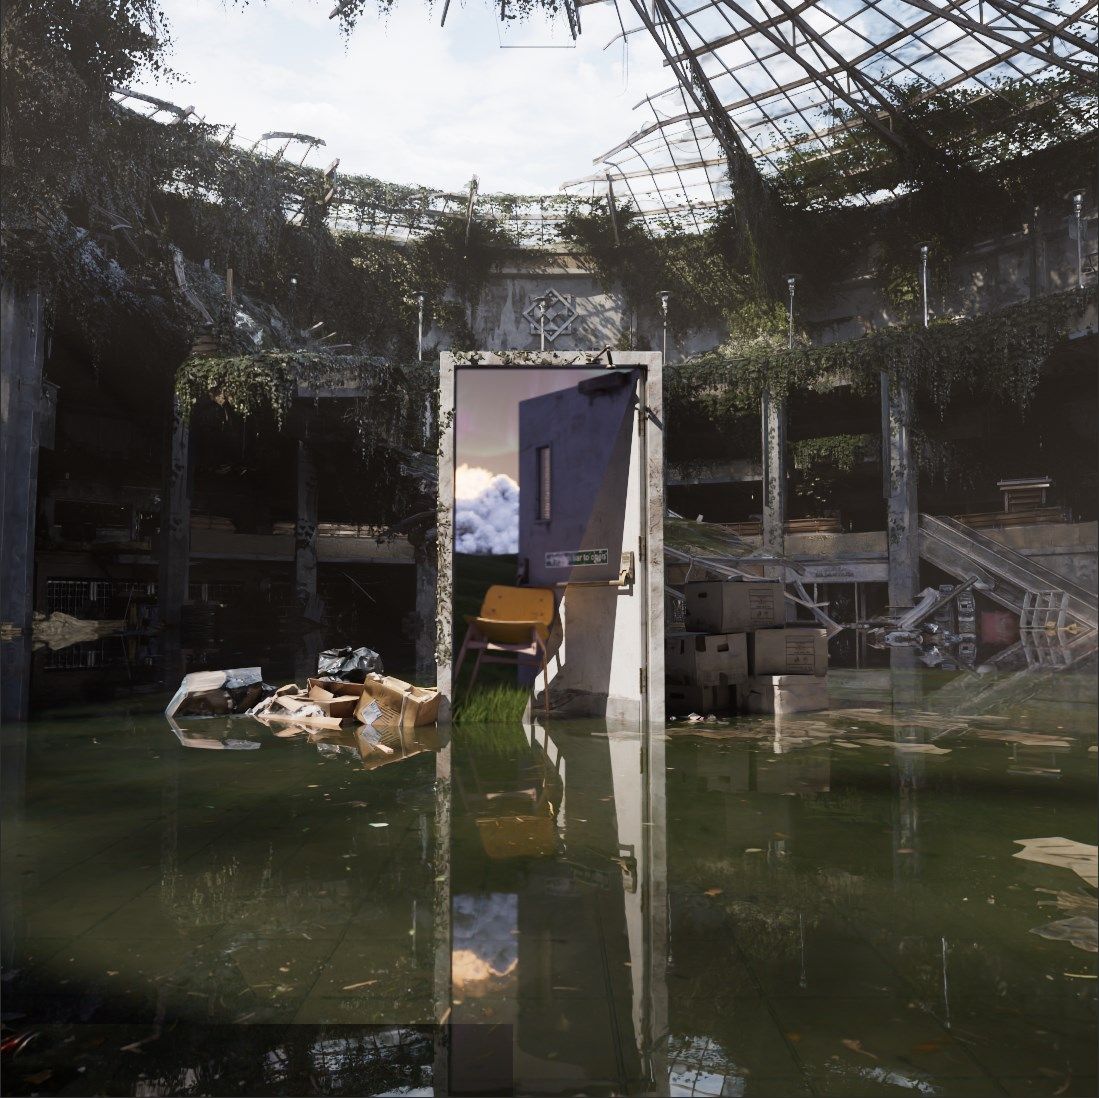
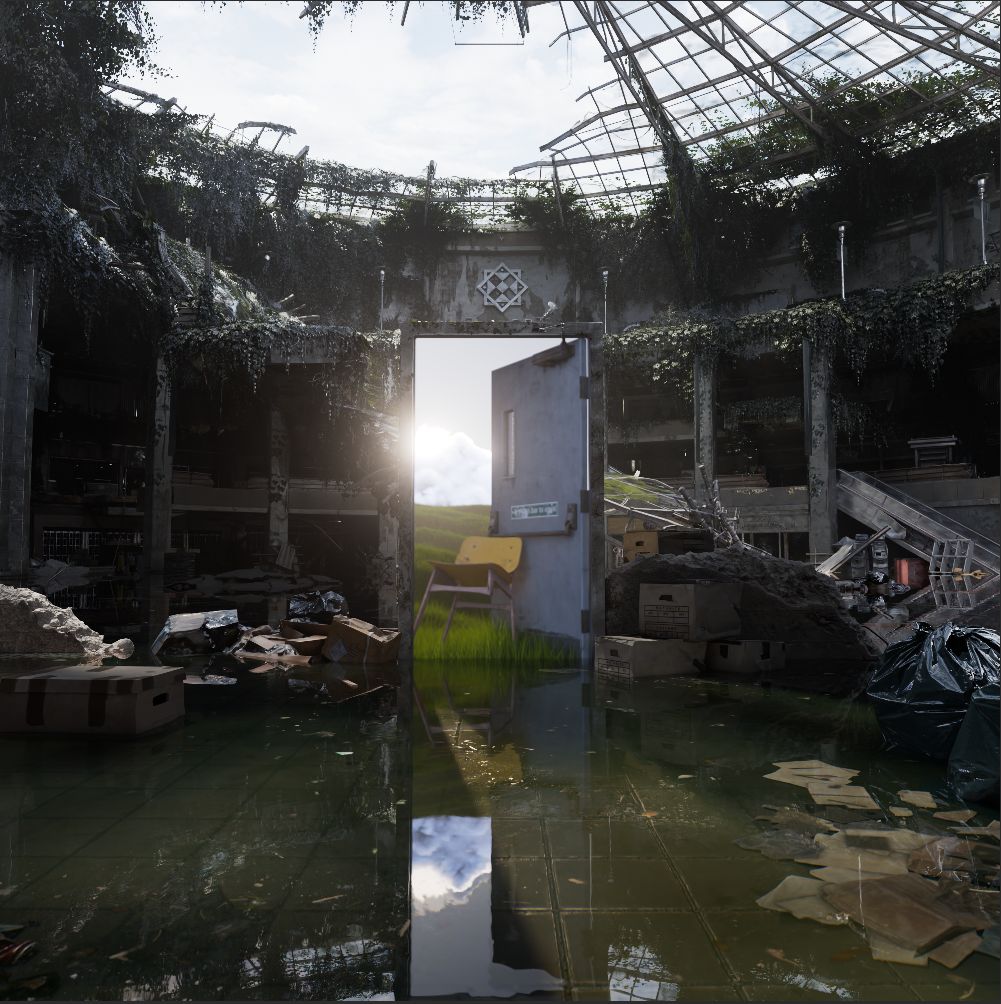
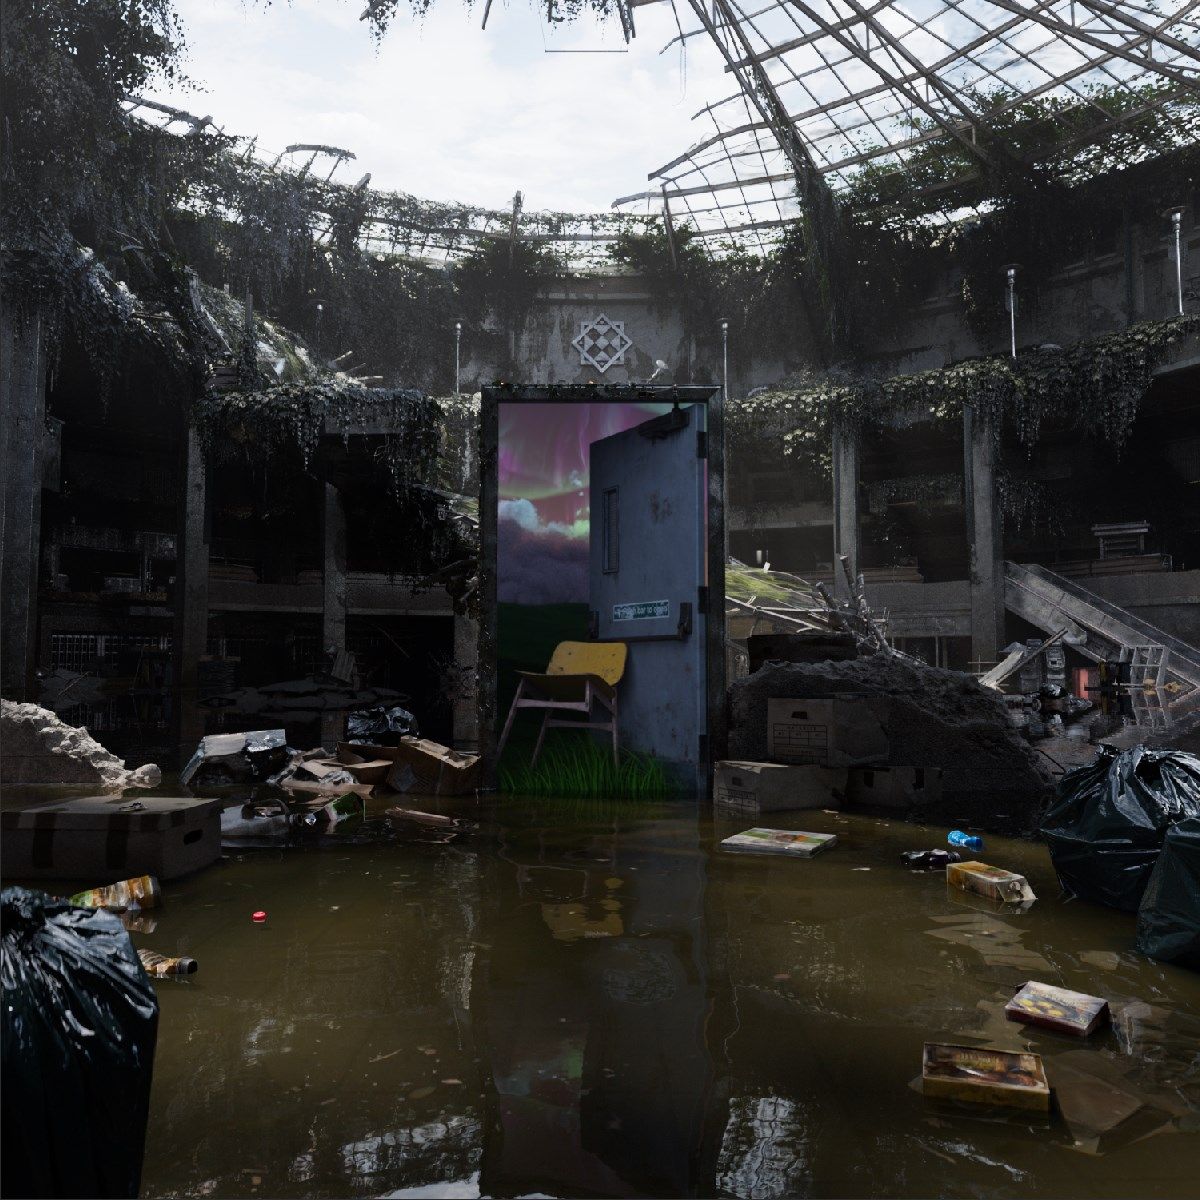
Seeing as this project took quite some time (on and off two years), the style evolved rather a bit. Going from the whimsical, summer-like bright turquoise in the beginning - just like the inspiration -, turning more into the muddy, darker vibe of the abandoned mall. I believe this emphasizes the feeling of getting pulled into the Other Side of the door and makes for a more rounded palette.
What I like about these Work-In-Progress images is how they show the evolution of the project, especially how the composition is built; growing hand in hand with the lighting changes to underline where the viewer's eye should be drawn to.

I’d do it all over again
If you're a certified gamer, you might recognize the scene's background being eerily similar to the mall level in The Last Of Us: Part 2 (just less aquatic). However, this "model" that I was handed had two big problems:
a) All Instances of Objects were'nt cloned, but separate objects (inefficient as hell with about 10.000 objects), and
b) No materials were assigned and I was only handed a folder with a ton of raw texture files - with the normal maps in Red-Green format.
TexToMatO
The most glaring problem - the missing textures - was quite a task to behold. Hundreds of materials missing and nearly a thousand texture files just dumped into a single folder. To solve this, I spent a few weeks writing a plugin for Cinema4D that makes importing materials for Redshift materials super easy using a little black magic and RegEx; I won't get into the details here, since I've already written a blog post all about how it works and about writing a plugin for C4D in general → .
This took away all of the hassle of manually creating each texture and the problem was solved in a single click! I can't recommend TexToMatO enough if you're using C4D together with Redshift, and (shameless self-advertisement aside) hundreds of others think the same, check it out on my Gumroad if you're interested → .
Flipping normals
A normal map helps to create surface & lighting detail without having to go out and have models with a high polygon count everywhere. It does so in specifying the vector perpendicular to the surface (which we call the normal) by giving each of the vector's X, Y and Z direction a corresponding Red, Green and Blue value. Game models use this technique abundantly to get up to sweet sweet smooth framerates making low-poly models still look great. However, they use another trick to save on even more storage space: They simply leave out the "Blue" component of the normal map. How is that possible?
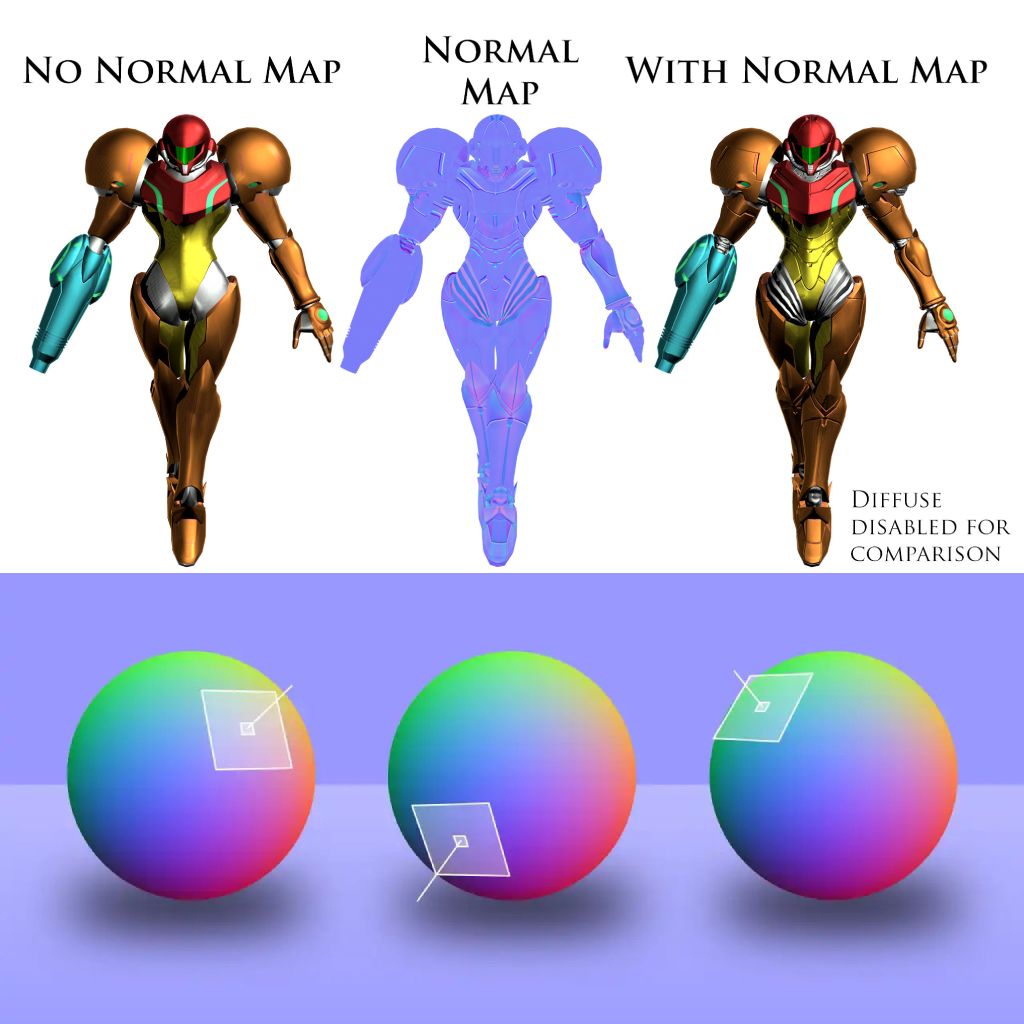

Funnily enough, the normal vector is also *normalized*; that is to say, it is always of length 1. Knowing that, we can set up the formula defining the length of the vector:
which can easily be rearranged as
Game engines know how to employ this technique on the fly - we, however, are not creating a game but a 3D render, and as such I wrote a Python script to recreate our normal normal map for every texture in the scene.
Instantce!
As it stands, the scene actually looked pretty okay for now. However, it was quite laggy and resource-intensive, not really optimal in any way. I realized that every single object in the scene was, well, a real, modeled object, while in truth they were thousands upon thousands of clones of just a handful of plant models. To optimize, C4D offers the concept of Instances, which load the object in memory just once and then copy-pastes the same model at each instance's location; an insane speed-up, if the scene were optimized in this way. Having gotten the hang of writing plugins, I booted up my code editor of choice and wrote away: A program which transforms each object into an independent matrix, then hashes the positions of its points and other attributes to be able to quickly identify it using this hash. Whew, quite the technical jargon to behold, but worry not, it can be simply explained by black magic.
This worked incredibly well, replacing thousands of objects in the scene with instances and speeding up the performance tenfold. Granted, this is quite a niche usecase for a plugin, but if you're handling CAD-files or the such where the same object is duplicated many times, Instantce! might come in handy. You can also check it out on my Gumroad → .
Ever-After
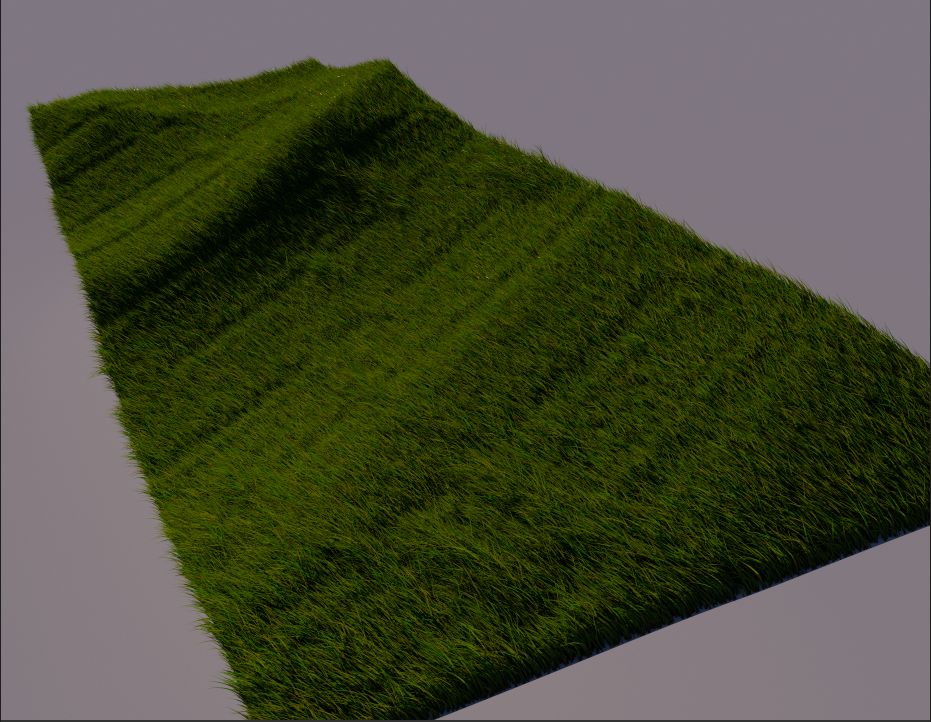
For the scene inside of the portal, I wanted to have a rushing day-night cycle with some Windows XP wallpaper-esque landscape. As the final animation should be looping, every element that I put inside also needs to loop seamlessly.
Starting off with the grassy hills, there are actually two (2) completely different methods used here: For the far-away hill, I've animated some noise (with blending to achieve the loop) over the rotation of grass-bunches. This works pretty well in the distance with the moving noise giving the illusion of the winds passing over and bending the grass. However, this method is of course too lacking in detail for the grass right behind the door, so...
...for that, I did some hair-simulation (yes, like the ones on your head), since strands of grass are not too different of being the strands of hair of mother nature.. kinda. Using some wind simulations and adjusting the parameters of the hair itself I got some satisfactory results, but getting a loop in a simulation requires extra work. I booted up Houdini, loaded in the simulation and managed to smoothly make each simulated line return to its starting position using just a few simple nodes; then using this modified sim in C4D as a driver for the hair.
A bright (night) sky
On top of that (literally), I imagined a big, hero cloud evolving with the passing time. For this, I turned to EmberGen, a volume/fire/explosion sim software that runs on the GPU instead of traditionally on the CPU, making it nearly create these simulations in real-time. It also features a handy tool to make the volume sim looping inside of a certain time area, which coupled with the quite simple setup I had going on made for a nice, quick and pretty cloud.
Finally, to spice up the night sky (and since I've always wanted to see them), I used Stable Diffusion 1.5 - yes, the old one, this project spent a lot of time in the oven -, with image2video, specifying the start and end frame to be the same picture of a beautiful, colorful northern light.
Thy mountains and rivers
Stepping back out into the abandoned mall, the standing water was just standing a little bit too much for my taste. In anime, objects standing inside water sometimes emit water ripples for no discernible reason other than looking cool, so I created a shallow water solver in Houdini with the relevant geometry as a collision map, then emitting from said map a little bit of water in periodic intervals. After cleaning up the simulation and making it loop, I brought it back into C4D to make the water a little bit more lively.
This is where I end?
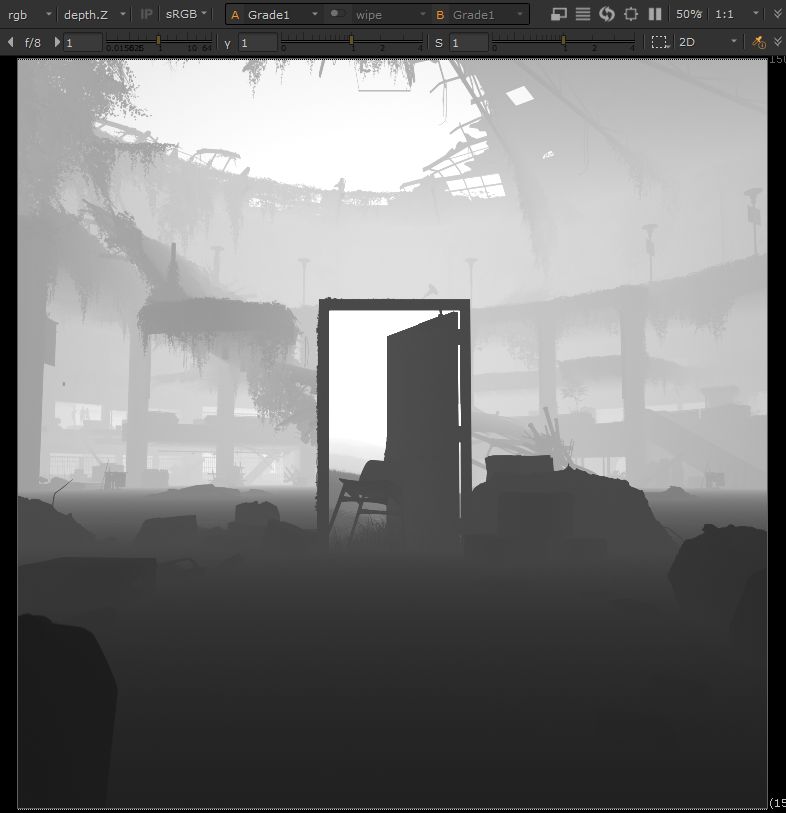
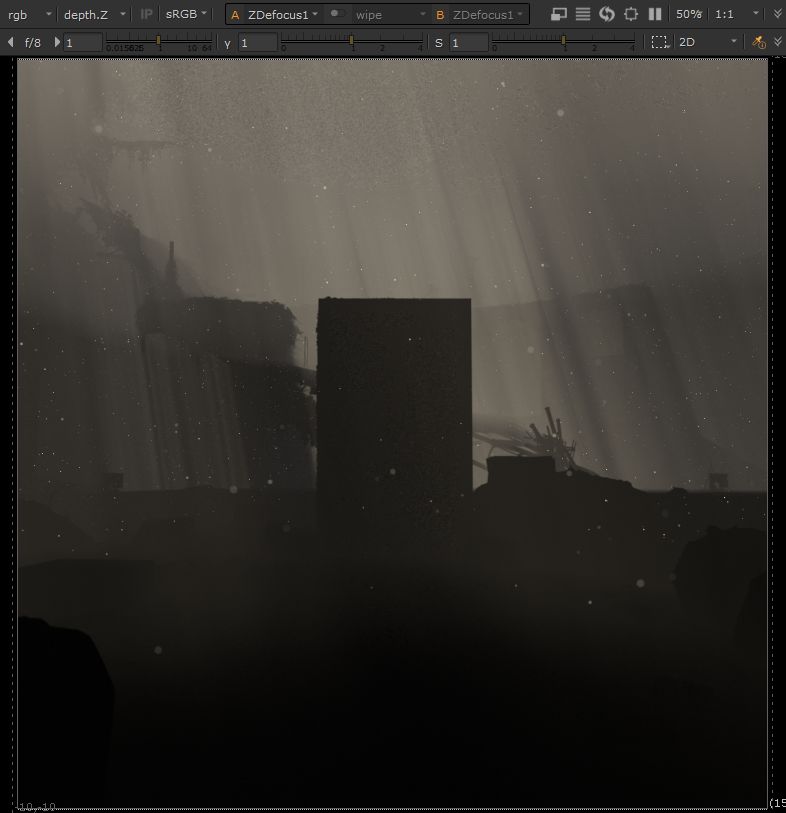
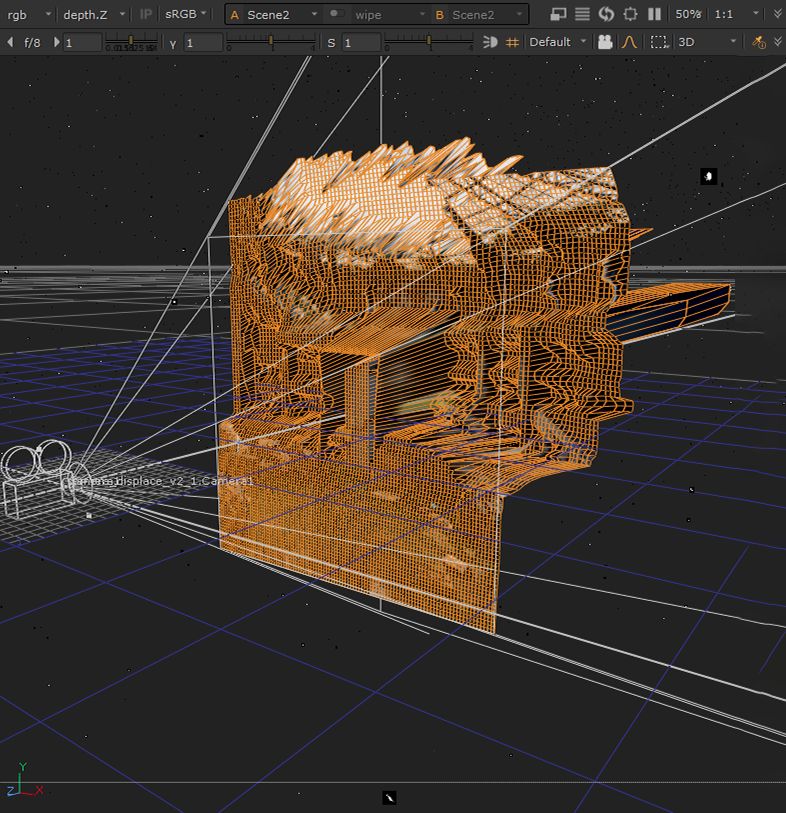
Closing out, I additionally rendered out the depth map as well as the Volumetric components of the image for some nice post-processing in Nuke. I used the depth map for some dust particle animations and to create some subtle camera shake by reprojecting the render onto a 3D-extrusion using the depth map to get the shake to behave more realistically - moving closer objects more than far away ones.
After some more color grading I set up some sound effects and played the musical motif of the movie on the piano, bringing it all together in Ableton to round off the project with some ample soundscape.
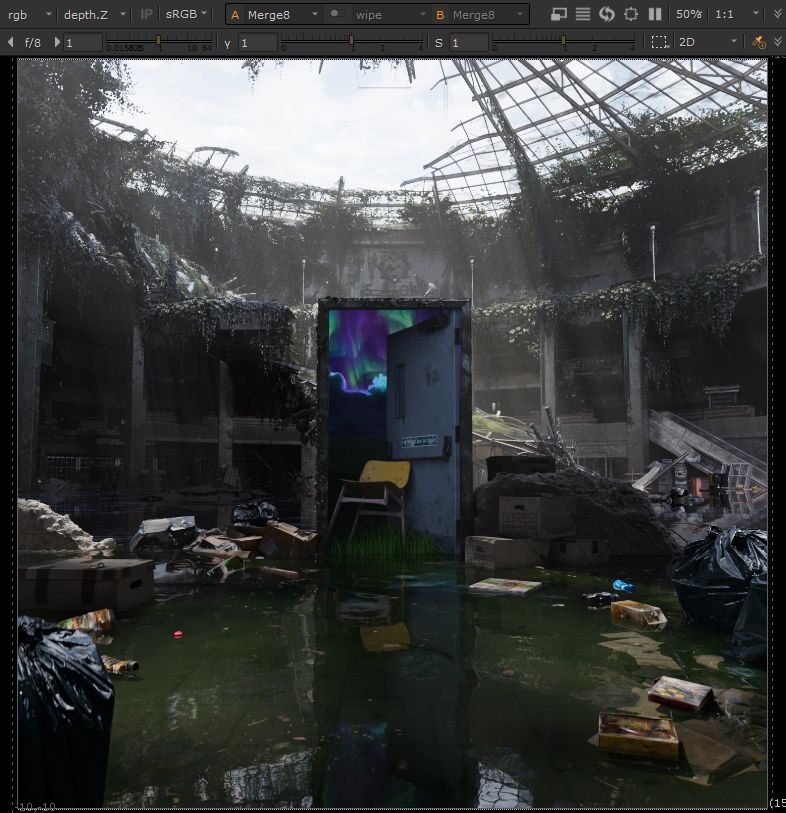

All in all, I am really proud of this render, bringing together nearly all of my skills in the different softwares I have learned over my years in this awesome creative outlet, as well as writing two plugins which are now used happily by hundreds of other artists around the globe. This has been a superb journey which - I hope - can be inspiring for others to keep on creating and doing what you love.
Thank you for sticking with me to the end, and I encourage you to scroll back up and watch the final animation again, maybe you'll spot some things I wrote about or at least have a little more knowledge of what it took to get there. See you on the other side!